Machining Camera Stabilizer Head Plates, One Hole at a Time.
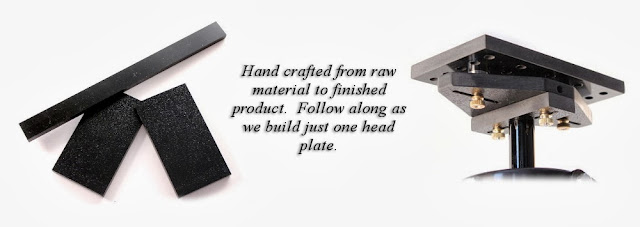
Whether you're interested in building your own DIY camera stabilizer, or just enjoy seeing the process behind the product, follow along the hand crafted journey as we go from raw material to finished product.
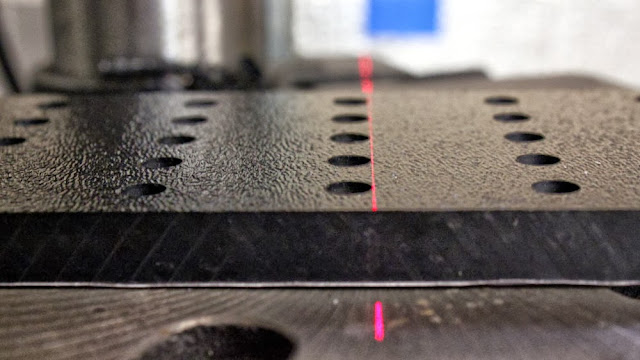
The process begins with the top plate of the camera stabilizer head. A paper template is glued on to the surface, then 27 holes are hand drilled with the help of a laser guided drill press. If the head plate is intended for use with our Specter Stabilizer, the holes are also counter-sunk.
7 years and an estimated 100,000+ holes drilled by none other than the owner himself, precision can be seen in the alignment test.
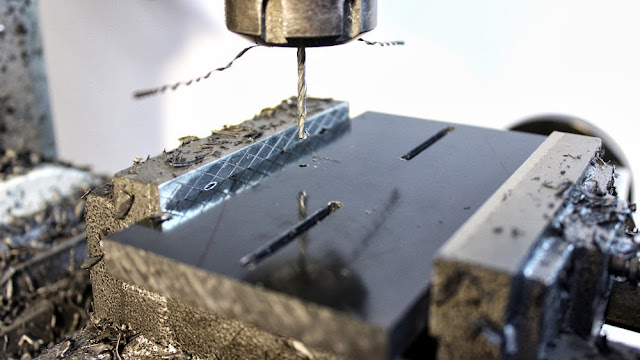
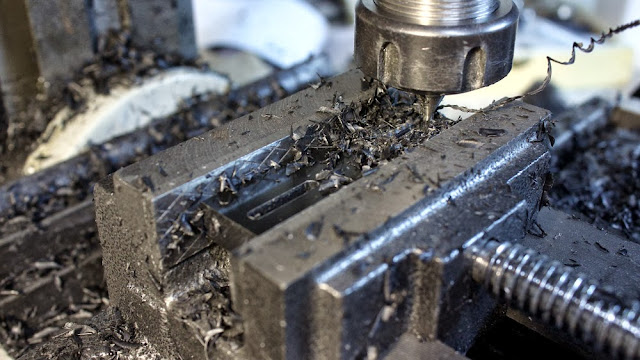
Moving on to the middle plate, slots are machined with the help of our manual 3-axis mill. These slots allow for the front-to-back adjustment of the camera.
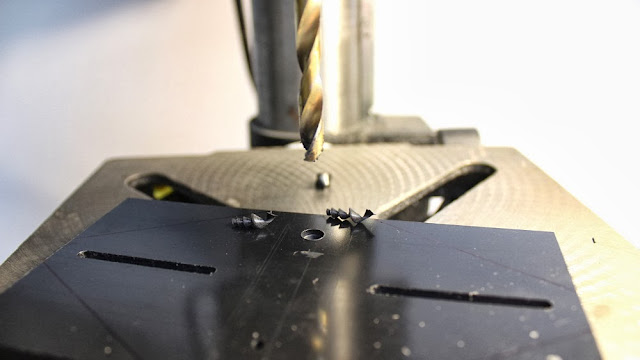
Holes are drilled for the mounting screws that connect the middle and bottom plates.
Then counter-sunk on the drill press.
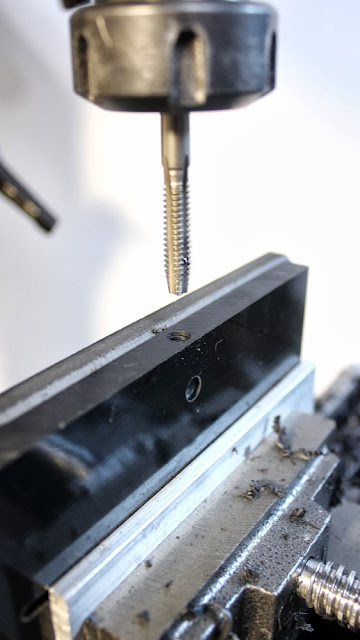
1/4"-20 mounting holes are drilled in the sides of the plate, allowing users to attach our inertial dampers for added stability.
With the help of the 3-axis mill for alignment, the holes are hand threaded to prevent damaging the threads.
A custom metal template is used to mark the cut lines for the next step.
Once marked, the final shape is cut via the scroll saw.
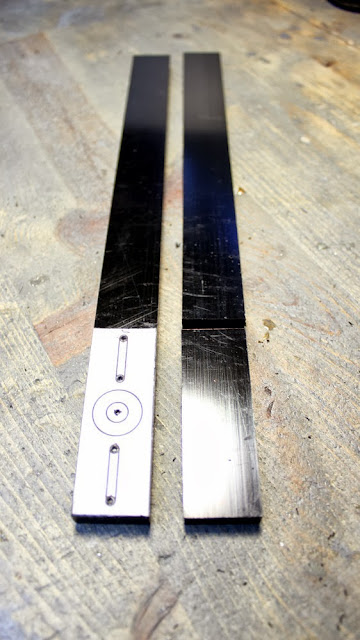
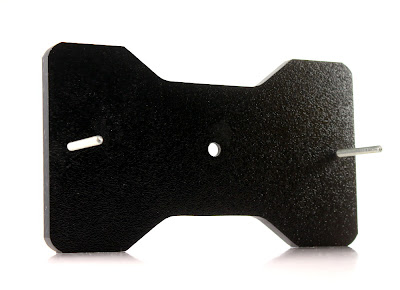
Another custom metal template is used to mark the bottom plate on a longer strip of material, then cut to length using the scroll saw.
Slots are then machined using the 3-axis mill. These slots allow for the side-to-side adjustment of the camera.
The mounting hole is drilled and counter-sunk in the plate, allowing it to attach to the main tube of the camera stabilizer.
 | |||||||
| A majority of the sanding is done by hand. The matte finish on the left is used for our MiniDV Stabilizer Pro V2 and requires two grits of sandpaper to complete. The more time consuming gloss finish is used on our Specter Stabilizer and requires six different grits going all the way up to 2000 grit paper. The gloss finish can take up to several hours to complete. |
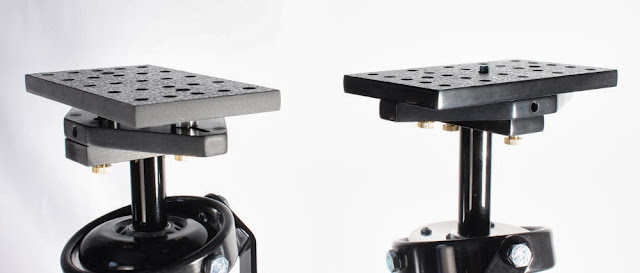 |
| Once sanding is done, mounting hardware is added, and the camera stabilizer head plates are complete. |
Machining required
32 holes drilled
4 slots milled
6 holes threaded
Learn more about the MiniDV Stabilizer Pro V2 and Specter Stabilizer at the links below:
MiniDV Stabilizer Pro V2 - Camera Stabilizer
Specter Stabilizer - Camera Stabilizer
Learn more about the MiniDV Stabilizer Pro V2 and Specter Stabilizer at the links below:
MiniDV Stabilizer Pro V2 - Camera Stabilizer
Specter Stabilizer - Camera Stabilizer









Comments
Post a Comment